Showing posts with label turning. Show all posts

Monday, September 14, 2015

Making Memories While Making Pens

Since I started making pens and pencils I've given a lot of them as gifts. Recently I gave my nephew a pen for his birthday.
Zane's Pen
He loved it but asked if I could make him pencil, I suggested that next time he was up that we could make it together.  His older sister liked that idea also, she even picked out the blank she wanted to use.

I got the blanks ready and next time they were up we made the pen and pencil. I had each of them start out by practice turning a piece of scrap before turning the actual project.
Trinity ready to turn


Zane concentrating on the work at hand


Zane's Cherry mechanical pencil

Trinity's confetti pen
It was a lot of fun to work in the shop with the kids. They both seemed very proud of what we made together.

Saturday, January 24, 2015

Tool Handles

As I was cleaning in the shop recently I found some old files and rasp that were NY grandpa's. I had forgot I had them. Only one of them had a handle. I need a simple lathe project to get my fix so I used some scrap and turned some handles. Files are a lot nicer to use when they have a handle.

Oak handle on top and a maple handle on bottom.too

Thursday, January 8, 2015

More turned gifts

I turned a lot of pens and other items for gift this year.
Leopard wood seam ripper

Red acrylic Pocket stylus

Crushed Turquoise Slim pen

Teacher pen made from Red Acrylic, Apple Wood, and Walnut

Purpleheart twist pen

Raging Rapids Acrylic slim pen

Bethlehem Olive wood Designer pen

Nuclear Grape mechanical Pencil

A walnut slim pen, and a cherry slim pen

Wednesday, January 7, 2015

ScrewDrivers

Almost everyone in my family has pens so I needed to come up with a gift I could make. I decided to make screwdrivers for the guys in our families as part of their Christmas gifts. This is something I've seen several other wood turners do on YouTube. I didn't use a kit to make them, I simply took the guts out of a readily available 6 in 1 screw driver from the big box store.

For a couple of the screwdrivers I glued some thinner stock together

Walnut and Sycamore


I finished them with spray lacquer

Shaping the Sapele screwdriver (yes, I need to get better about taking my ring off when I am in the shop)

I added burn lines for decoration

Top to Bottom: Sapele, walnut, Cherry and walnut, and walnut and sycamore
The screwdriver gifts were very well received and it was a lot fun to make them.

Tuesday, December 17, 2013

Pens

Back in November I mentioned that I had ordered pen making supplies and I hadn't posted about turning pens mainly because I've been to busy turning pens. Making stuff on the laths is a lot of fun.

I've been making pens and pencils for gifts and have made several for other people to give as gifts. I am looking forward to making more pens to sell and custom orders after Christmas.
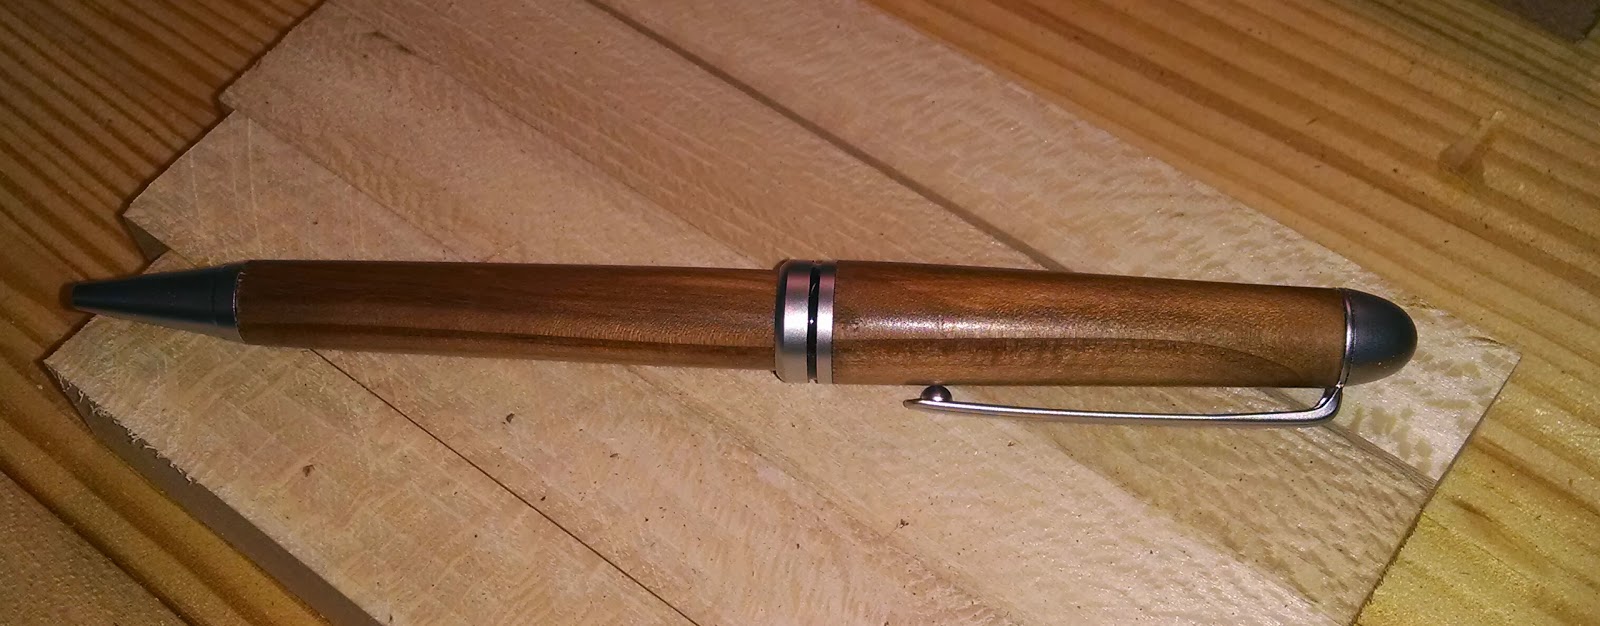
A apple wood Designer pen 


Mechanical Pencils

These are more of the walnut that my Grandpa cut down from his farm. I turned 7 of these in March when I was learning to make pens.


In the new year I want to expand the styles of pens and see where it all leads. I've a had a lot of fun the last month turning pens.

I am going to have to do some modifications to the lathe though. The lathe had a dead center on the tail stock and the pen mandrel has wore away the point. I have made a spacer/bushing that is working for now, but I plan to have the tail stock machined to take a morse taper so it can then use modern live centers and accessories like a modern lathe can take.
This is the tail stock quill that I need to have a taper bored into

There should be a sharp point in the center of this.

Tuesday, November 19, 2013

More Ornaments

I am still playing with the lathe in between other task or when I have a little extra time. Last week I brought a load of fire wood into the shop and picked a few pieces of spalted maple to try make something out of.

I used a hatchet to rough out a blank before putting it in the lathe. I turned two ornaments from the piece of firewood. The first one I sanded using paste wax and didn't add any finish other than the paste wax.
 The second ornament I stained with mahogany gel stain and I am top coating it with spray shellac.

 Here are the 2 ornaments from last week with the wire added to hang them and the walnut one has 4 coats of shellac on it.

Last night I prepared some blanks for making pens and today my pen making supplies were delivered, I am looking forward to getting started making pens.

Thursday, November 14, 2013

The Lathe is Magnetic

I can't seem to stay away from the lathe, it is addicting. I went to the shop to work on the large counter top but while the shop was warming up I was drawn to the lathe. I had a piece of walnut in the lathe that I had made round the last time I was in the shop. I decided to see if I could make a small Christmas ornament. It was  fun little project and it came out pretty good. I plan to get some thin copper wire to hang it on. So far it has a coat of boiled linseed oil on it, I plan to give it a clear finish in a few days.

After working on the counter top I found myself digging in the scraps trying to find something to put in the lathe. I found a small chunk of oak in the scrap bin. I decided to make another ornament this one really looks like a top. I haven't tried to spin it with a string to see if it works as a top. I sanded it on the lathe using some paste wax and I think it came out nicely.


I am looking forward to adding more home made ornaments to our tree. Thanks for stopping by.

Sunday, March 10, 2013

Walnut Pens

One the UFOWW forum there are a lot of members who turn and make pens. I have a lathe that was grandpa's but I've never used it and it is still in storage. I was really impressed and with the pens and became interested in turning some.

A fellow UFOWW member,Robert aka Bob, lives about 80 miles away. I started talking with him and we talked about meeting up some time. Then I got the idea I wanted some pens made from the walnut that came from my grandpa's farm. I asked Bob about making some pens for me, and he offered that I could come over and he would teach me how make the pens.

I cut the boards to pen blank size and then mailed them to Bob so he could prepare them. Yesterday was the the big day. I got an early start so I could be at Bob's house around 8 am. 

It was beautiful morning.
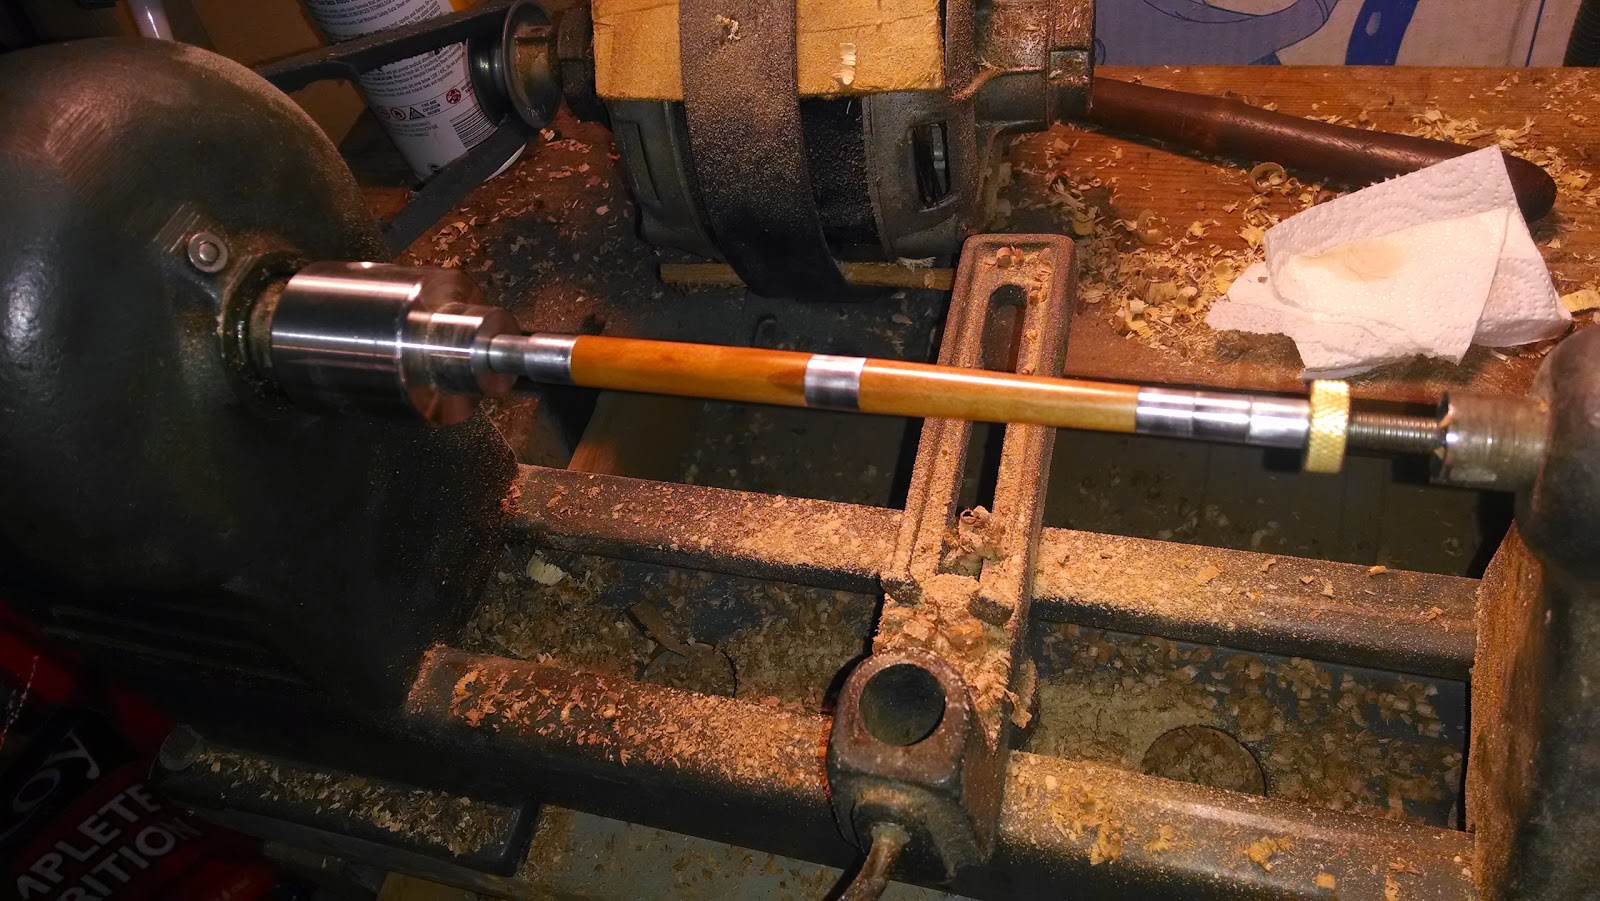
Bob taught me how to turn using some extra pieces he had and then I got started making my walnut pens. I was amazed how easy and gratifying making the pens were the first pen took a little while to make but I got the point where I was able to make a pen in about 45 minutes. 

Now for the part that makes the blog better, less words more pictures. Some of these pictures Bob took of him preparing the blanks and he took the action shots of me making the pens.

The bundle of blanks right out of the box

Bob lablled each blank
next they were cut to roughly the correct length, leave a little extra on each
the blanks
Next a hole was drilled through the center of the blank
each blank has a brass tube glued inside, this is part of the pen kit
the ends of the wood blank have to be trimmed flush and square to the brass tube
Now the fun starts
Shaping

wiping on the polish
buffing the polish
laying out the tenon
cutting the tenon
all the parts of the pen

pressing the parts together

the 7 finished pens