Showing posts with label cedar. Show all posts

Monday, September 16, 2013

Cedar Cabinet

This post is over due but better late than never. A few months ago I finished the cedar cabinet I was building for our back porch. It turned out nice especially for being built from 2x4's and fence pickets. It has been a nice addition to the back porch and has made keeping the table on the porch free from clutter a lot easier.

Shelves on the left side, tall storage on the right.
here are a few pictures of the build.
I started by attaching the back, the boards are ship lapped to minimize any visible gaps. 

The floor and the shelves are 1/2" plywood. I haven't applied any finish yet, and we like the way it looks so far.

Wednesday, May 8, 2013

Getting back to the shop

Well the painting is done, and the trim has even been put back up. I managed to not fall off the scaffolding even. I dont have a finished photo, but here is the corner where the entertainment center will go.
 And here is some of the craziness required to get the job done.
in reference to scale I am 6' tall

 Our culvert finally got replaced last week.  Now I plan rip rap around the ends of the culvert and create some sort of curb a long the driveway to help keep the driveway rock in the driveway.

 I started building a storage cabinet for the back porch to hold folding chairs, grilling accessories  a radio, and other misc items. I am using cedar fence boards to enclose the cabinet. One side will have shelves and the other side will be tall storage.  There should just be enough room for the tiki torches to fit in. I used half lap joints to build the frame.  Overall frame size is 42" wide, 20" deep, and 5' 9" tall, internal height will be about 5'6". The corner post are treated since they will be in contact with the concrete floor.
storage cabinet frame

Thursday, April 11, 2013

Duck, Duck, No Goose

Last fall my neighbor had a pond dug and before it filled he installed a few poles with the intentions of installing some wood duck houses. This spring he brought over a duck house he had and was asking some questions about building another one. I offered to help him build one, a few weeks later when he came over to help me unload some plywood he had a nice 10' cedar 1x12 and a plan he found for a simple wood duck house. It was a simple project but fun to build.

The side opens up so the house can be cleaned out yearly

The saw kerfs allow the little ducks something to use to climb out

Here is the duck house he originally had and the one I made from the plans he had.

The duck house installed at the pond

Friday, March 16, 2012

Wood from the Past

My Grandma has been cleaning out her garage and the garage that was Grandpa's shop and has found several boards for me.  I went by last night and picked them up, the biggest of the boards was this Cedar 2x10 that is 8' long.  I wire brushed a lot of the dirt off the board but then I needed to plane the rough sawn board to get a look at the wood.

Here is the stack of the other boards, it's a mix of walnut and cedar with maybe a few other types of wood in there.  I am brainstorming for a project to build with this for Grandma.

Tuesday, January 17, 2012

Cedar Bird Feeder

In talking with my parents they mentioned that they had plans my grandpa had drawn for a bird feeder similar to the one he built for them in 1977. After getting a copy of the plan it is very clear where I get my tendency to over-engineer and over-design things.  According to my parents grandpa wanted to sell plans and kits for these and other bird feeders, I think it would have been interesting if the internet had been available to grandpa to market the different ideas he had during his life time.
Grandpa's plan had places to hold those seed blocks but I decided remove those from my version of the feeder, and in doing so each bird feeder could be made from a single 8' 1x8.

The cedar 1x8 available at the big box stores are surfaced on 3 sides, which means that one side is rough.  Before I started cutting any pieces to length I quickly sanded the rough side with some 40 and 80 grit sand paper on my random orbit sander. Below you can see the difference after the quick sanding.

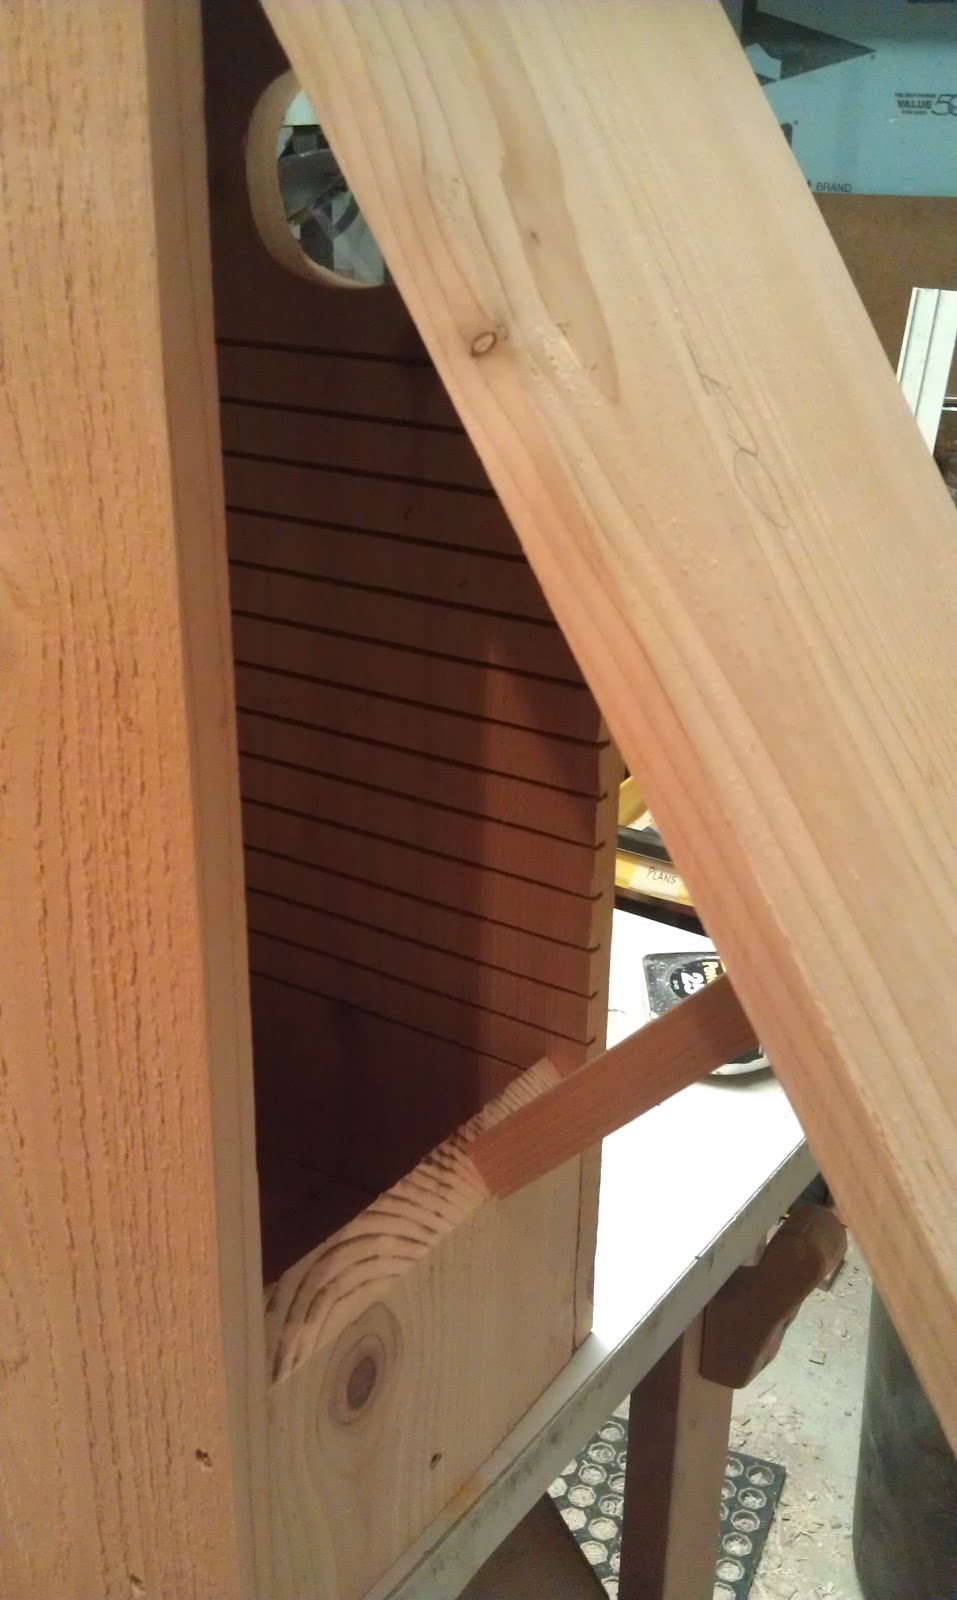
The bird feeder goes together quickly, in the picture below I still need to add the latches that hold the roof on, and the plastic that holds the seed in.

This is close the same style my grandpa built my parents and the birds seem to really like this style of feeder, it gets emptied before all the other feeders they have. I really enjoyed studying the plans that grandpa drew and then building from them.  I see myself build a lot more of these bird feeders.