Several of my tools used to be grandpa's having them and using them is a wonderful feeling.
Wednesday, November 20, 2013
More of Grandpa's tool
Grandma had told me a while a go I could have grandpa's drill press and with some of my up coming projects I was needing it so over the weekend we went to see grandma and to pick up the drill press. I haven't been able to find how old the drill press is, but it looks to be in good shape.
While I was getting the drill press I found a bench top belt sander and grandma let me have it as well. It is a Dunlap 4"x36" belt sander. I looks to be around a 1950 model from what I can find. I plan to clean it up and build a stand to hold it and a motor.
Tuesday, November 19, 2013
More Ornaments
I am still playing with the lathe in between other task or when I have a little extra time. Last week I brought a load of fire wood into the shop and picked a few pieces of spalted maple to try make something out of.
I used a hatchet to rough out a blank before putting it in the lathe. I turned two ornaments from the piece of firewood. The first one I sanded using paste wax and didn't add any finish other than the paste wax.
The second ornament I stained with mahogany gel stain and I am top coating it with spray shellac.
Here are the 2 ornaments from last week with the wire added to hang them and the walnut one has 4 coats of shellac on it.
I used a hatchet to rough out a blank before putting it in the lathe. I turned two ornaments from the piece of firewood. The first one I sanded using paste wax and didn't add any finish other than the paste wax.
The second ornament I stained with mahogany gel stain and I am top coating it with spray shellac.
Here are the 2 ornaments from last week with the wire added to hang them and the walnut one has 4 coats of shellac on it.
Last night I prepared some blanks for making pens and today my pen making supplies were delivered, I am looking forward to getting started making pens.
Thursday, November 14, 2013
The Lathe is Magnetic
I can't seem to stay away from the lathe, it is addicting. I went to the shop to work on the large counter top but while the shop was warming up I was drawn to the lathe. I had a piece of walnut in the lathe that I had made round the last time I was in the shop. I decided to see if I could make a small Christmas ornament. It was fun little project and it came out pretty good. I plan to get some thin copper wire to hang it on. So far it has a coat of boiled linseed oil on it, I plan to give it a clear finish in a few days.
After working on the counter top I found myself digging in the scraps trying to find something to put in the lathe. I found a small chunk of oak in the scrap bin. I decided to make another ornament this one really looks like a top. I haven't tried to spin it with a string to see if it works as a top. I sanded it on the lathe using some paste wax and I think it came out nicely.
I am looking forward to adding more home made ornaments to our tree. Thanks for stopping by.
After working on the counter top I found myself digging in the scraps trying to find something to put in the lathe. I found a small chunk of oak in the scrap bin. I decided to make another ornament this one really looks like a top. I haven't tried to spin it with a string to see if it works as a top. I sanded it on the lathe using some paste wax and I think it came out nicely.
I am looking forward to adding more home made ornaments to our tree. Thanks for stopping by.
Wednesday, November 13, 2013
Starting to turn
Back in March I introduced my 1942 lathe that was in storage. Well I finally brought the lathe up to the shop, I am wanting to turn pens and some other gifts.
I had to try the lathe once I got in the shop. The lathe tools were somewhat sharp and worked good enough to really make me want to turn more. In these pictures I was just playing with a piece of pine 2x2.
Tuesday, November 12, 2013
Bowling Alley Counter Tops Part 5
After letting the smaller counter top cure in the climate controlled house for a week and a half I wet sanded to remove the blemishes in the final surface and then I delivered it to my in laws. They were thrilled with how it looked but they weren't ready to install it yet. But within a week the counter was installed. The center cabinets were recycled/salvaged and the two end cabinets were built by my wife's uncle. I am happy with how the counter top looks installed.
I have also been making some progress on the large counter top and have it all glued back together. I will be getting it ready to start finishing this week.
| My makers mark was still visible from inside the cabinet |
Thursday, October 31, 2013
Bowling Alley Counter Tops Part 4
I know my post about my projects can really drag out, but if I waited until the project was done to post something then there would months between post and that happens often enough. So thanks for putting up with small updates and multiple part post.
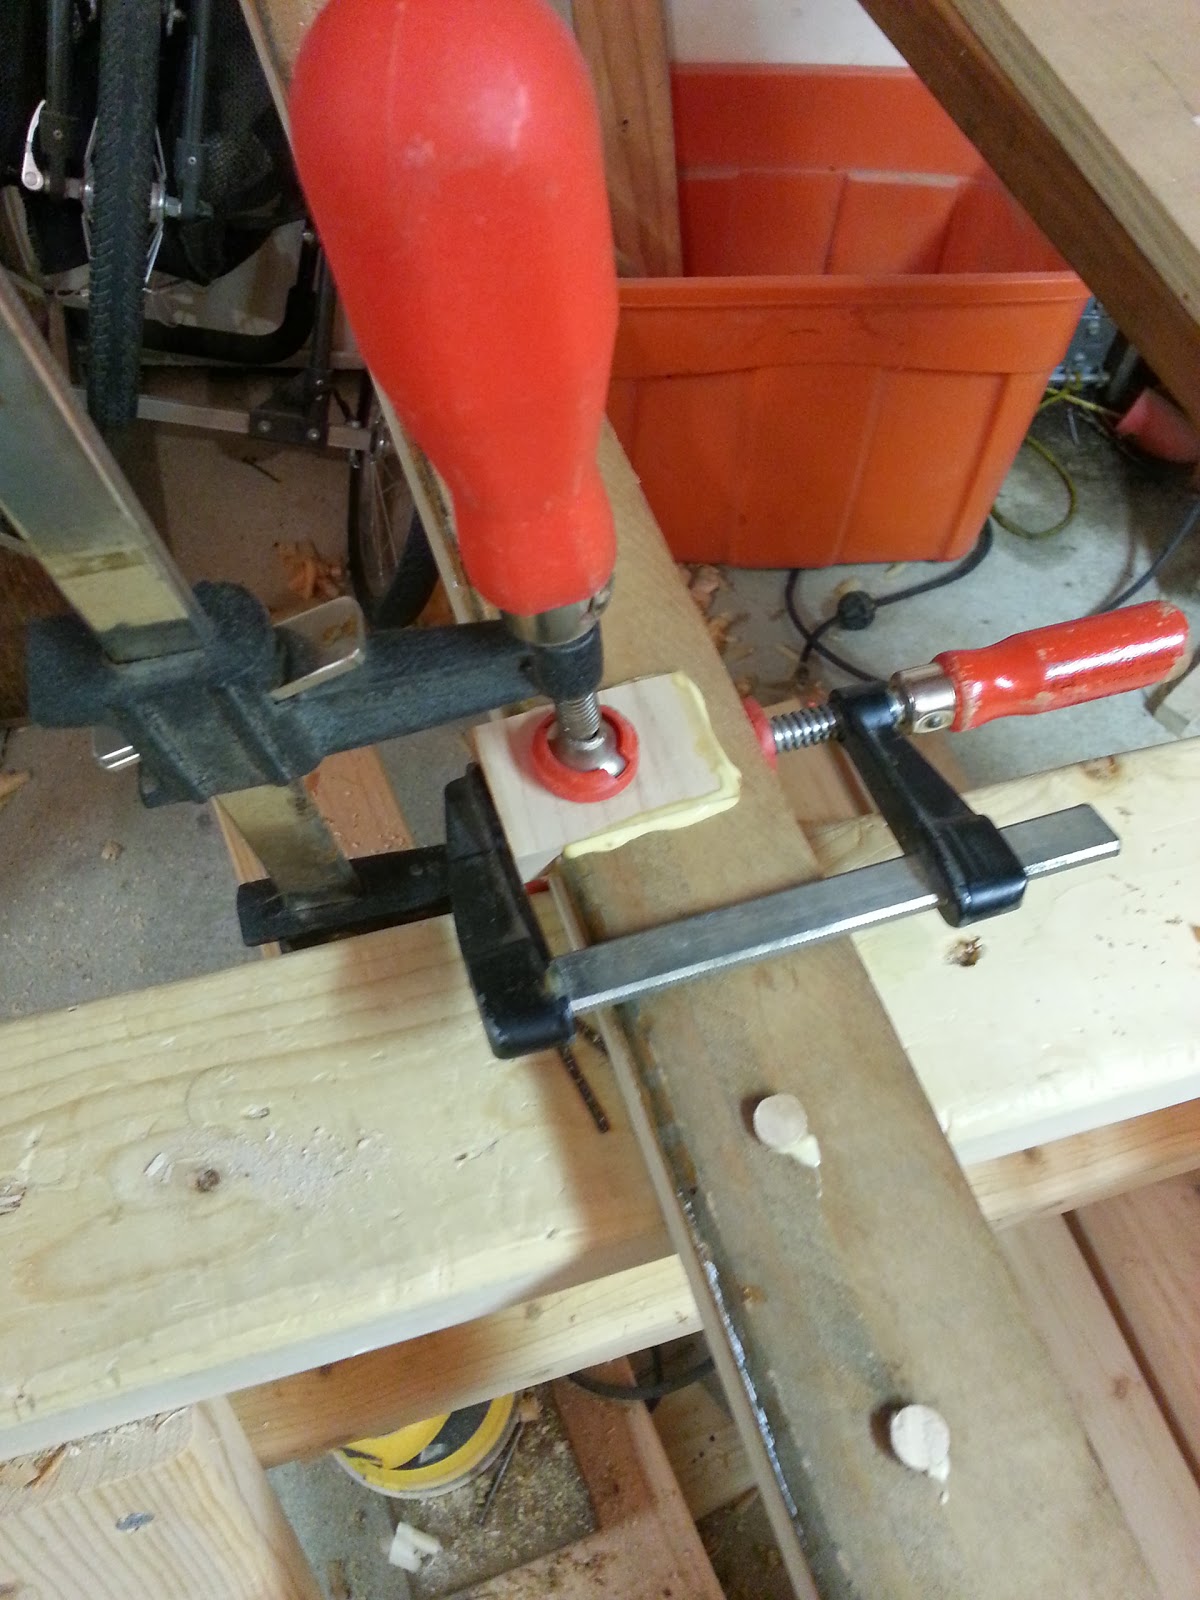
This week during my late night shop time I've been working to patch the holes in the maple edge on the large counter top. There were two larger holes where the lane was bolted down, I am patching those areas. I made a template and then used my router with a guide collar to route out the waste.
After routing I clean up the corners with a chisel and then size the patch to fit, using combination of sanding and planing to make the patch fit.
There were a lot of holes in the edging from the nails. I plugged the bigger holes with maple plugs. There was one spot where the damage was bigger than a 3/8" plug would cover so I chopped out the area and made a small patch.
Next step is to flush trim all the plugs and patches and then clean up the face of the maple edge and glue the top back together. I hope to accomplish that this weekend and get the first coat of finish on.
This week during my late night shop time I've been working to patch the holes in the maple edge on the large counter top. There were two larger holes where the lane was bolted down, I am patching those areas. I made a template and then used my router with a guide collar to route out the waste.
![]() |
| 1/4" spiral bit with a 3/8" guide bushing does a good job clearing the waste |
There were a lot of holes in the edging from the nails. I plugged the bigger holes with maple plugs. There was one spot where the damage was bigger than a 3/8" plug would cover so I chopped out the area and made a small patch.
Tuesday, October 29, 2013
Bowling Alley Counter Tops Part 3
Since the last post I haven't had a chance to do much other than I got the rest of the large section taken apart. I plan to repair the two big holes in the maple edging and plug some of the nail holes tonight and start gluing it all back together tonight and tomorrow night. I have the smaller counter inside the house letting the poly cure more before I try and fix the couple of blemishes in the finish.
The projects are lining up for after the counter tops are done. The big entertainment center is going to be pushed back again. Both the kids are needing some bookcase for their rooms. The materials I had bought for the entertainment center will be re-purposed to build the book cases. I also want to get my lathe setup to make some gifts for Christmas.
Subscribe to:
Posts (Atom)